How do you hold your camera?
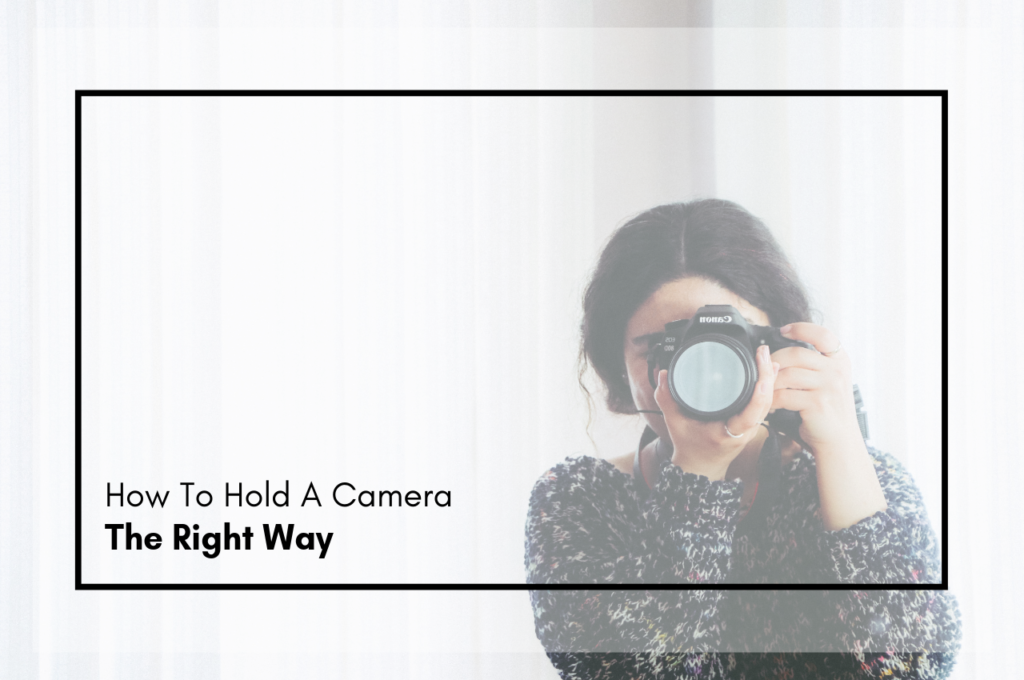
Simple answer: Holding the camera pointing lens away from you, putting the eye to the viewfinder and pressing the shutter button.
It is that simple. This obviously gets you a picture but the proper way of holding your camera ensures the better picture.
The common problem that most of the beginners are facing is the blurry image, which is the result of the ‘camera shake’. One of the many reasons is that the camera was not held still when the shutter was depressing. Holding the camera in the correct way can prevent these blurry problems.
Holding the camera as steady as possible is the most important thing while shooting. The only real solution to the blurry image is the use of the tripod.
Well, a tripod may not be available to everybody at all the time. But you will always have bipod with yourself i.e. your body. Using your hands, arms and legs in the proper way will help you keep your camera sturdy.
Followings are some of the tips for holding a camera in proper ways:
1. Use both hands
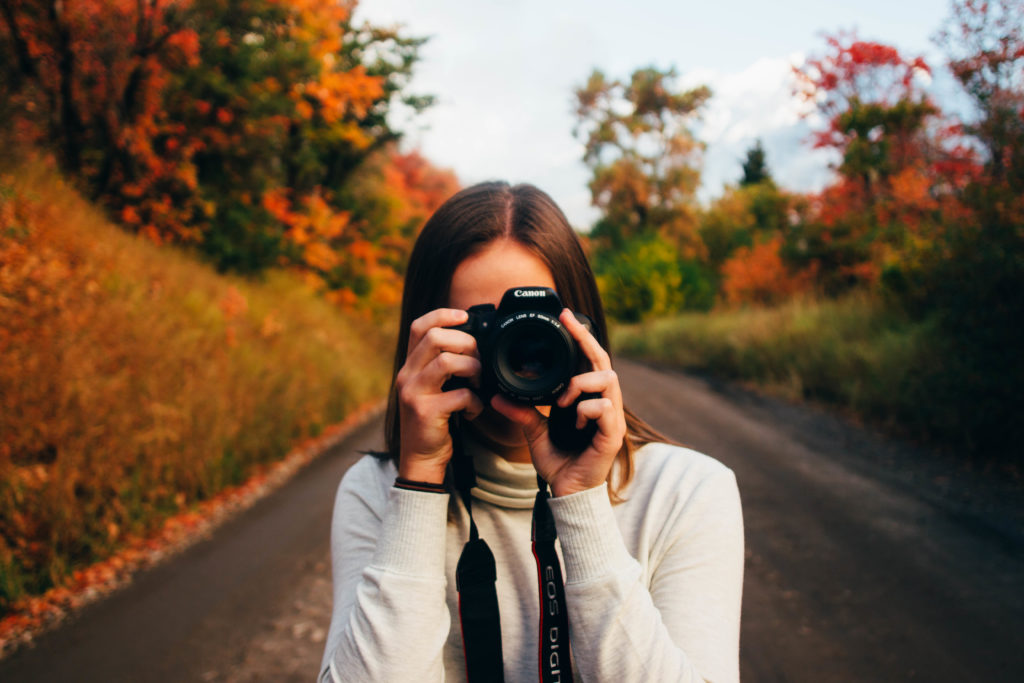
Using both hands to hold the camera is recommended to enhance stability. Sometimes it can be more appealing to shoot one-handed but two hands will add to the stillness of the camera.
2. Holding camera body and lens
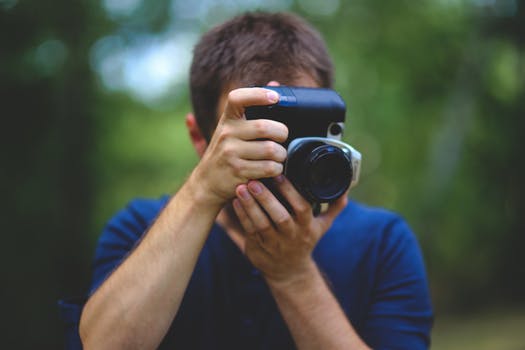
Use your right hand to grip the body while left hand should be placed under the lens or around the lens. Most cameras these days have a grip on the right hand making a bit difficult for the left-handed users. Your forefinger must rest lightly above the shutter release button, curling your rest of the three fingers around the body and thumb at the back of the body. Don’t keep your left hand anywhere besides under/around the lens. This way you can turn the dial for zooming and alongside you are providing more stability to the camera.
3. Use Viewfinder instead of LCD/Live Preview
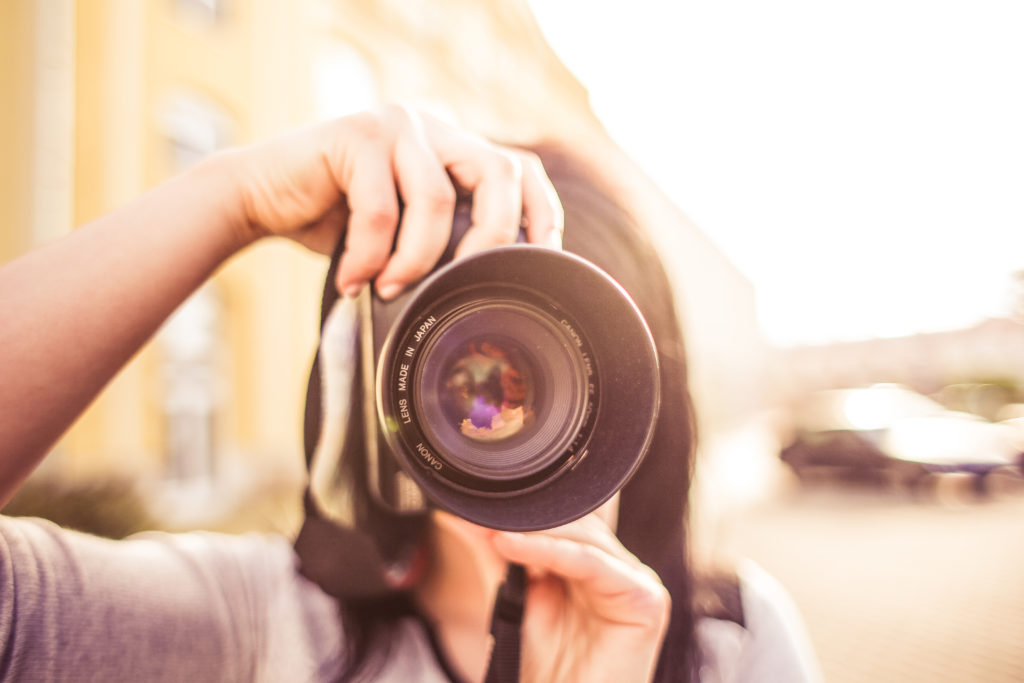
We like things on the bigger screen thus most of the people take pictures using LCD screen or the live preview. The camera becomes more unstable while using LCD because your face goes back or the arms go out. Using the viewfinder to frame your images will bring the camera close to your body which will add more stability. Most of the professionals choose viewfinder, so why not follow their lead??
4. Stand straight and tuck the arms
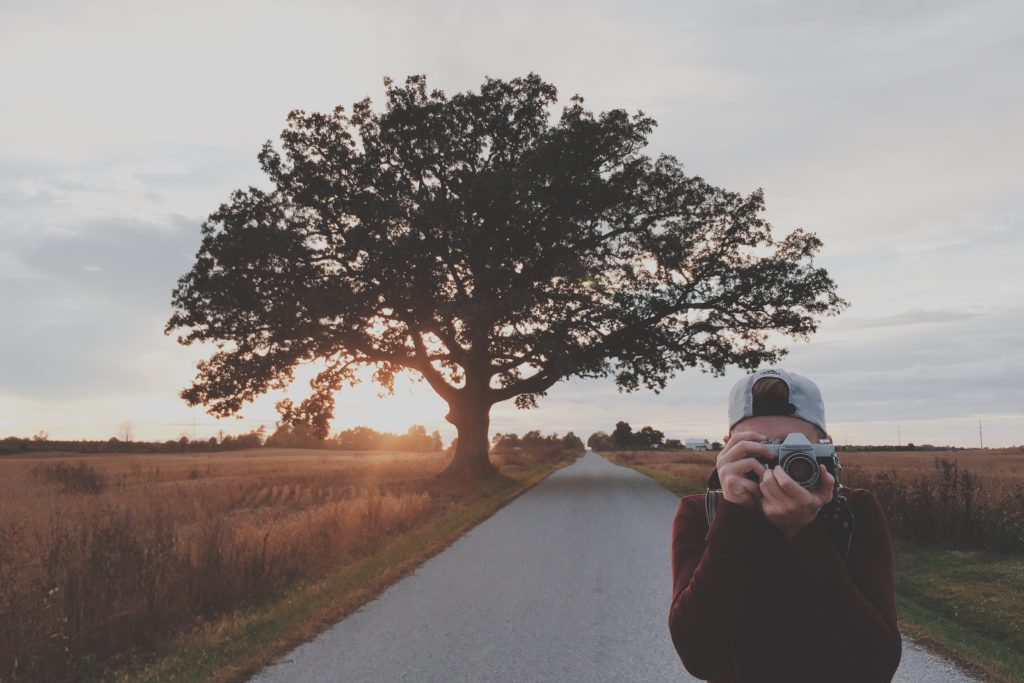
Keep your body posture straight in case you are taking pictures standing upright. Slouching may cause imbalance and instability. Try to keep your legs apart in a comfortable way but a stable stance. Tuck your elbows as close to your torso as possible, this prevents your arms from swaying and your left hand under the lens will be more supportive. These positions will provide better stability and better shots.
5. Plant your feet flat
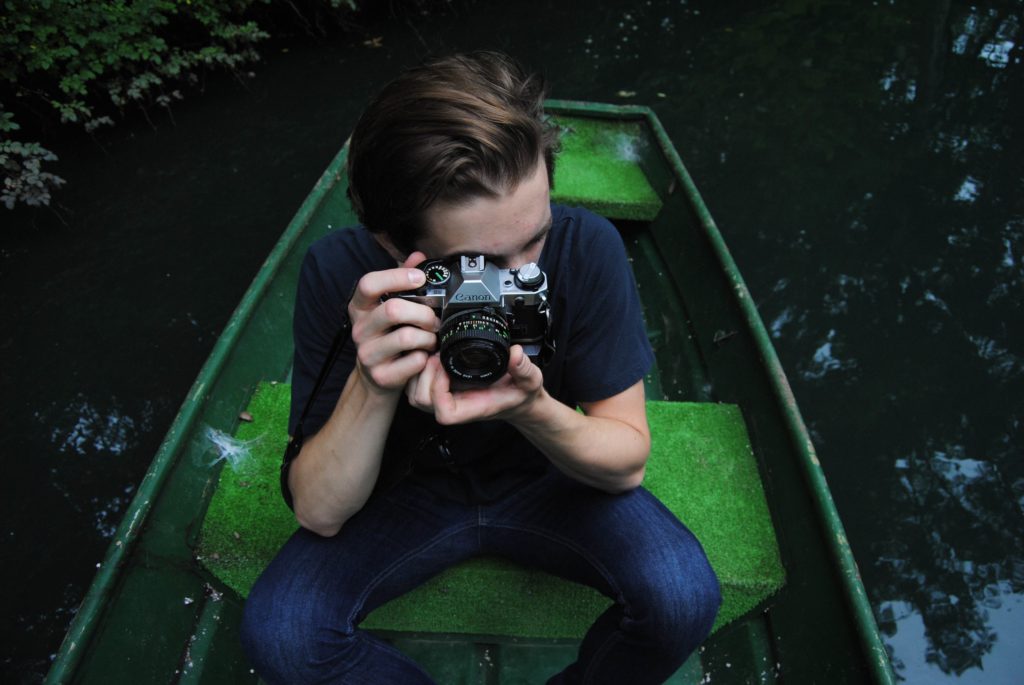
If you are taking pictures of lower perspective, instead of crouching on one foot just plant your both feet flat on the ground. Crouching on the ball of your feet is unstable. So, plant your both feet flat and then tuck in the elbows on or between the knees.
6. Using the knees
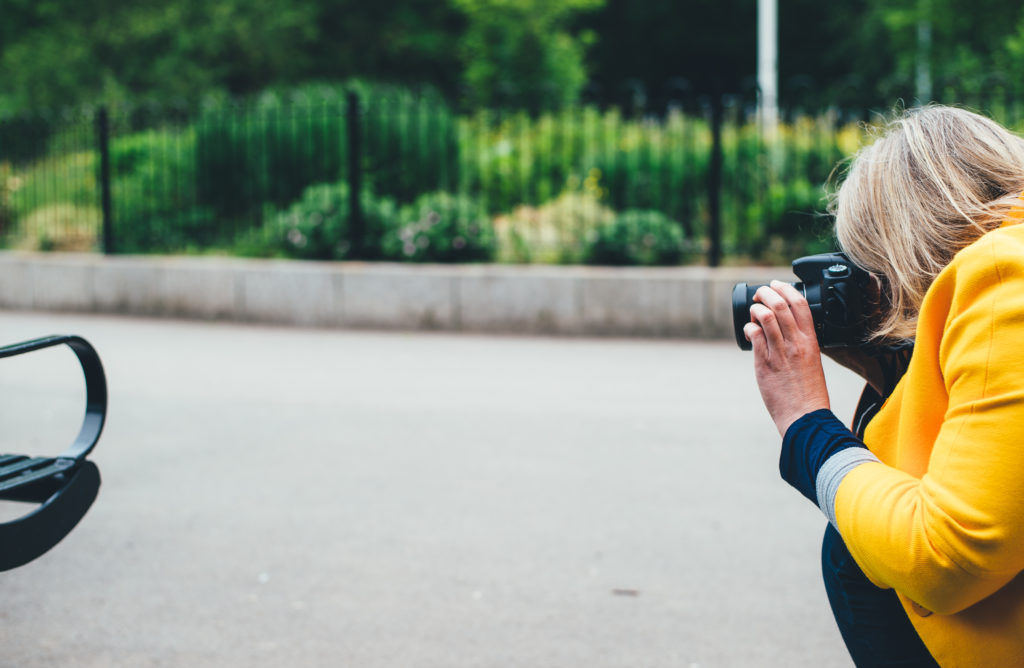
While taking pictures with a lower angle of view, sometimes, it is better to crouch down on one knee and resting the hand, holding the lens, on top of your knee. It provides stability and prevents you from whirling all over the place. If you are sitting down, place both your feet on the ground with your knees propped up. Place each elbow on the side of the knees, and you will be acting like a human tripod.
7. Brace against a solid and stable object
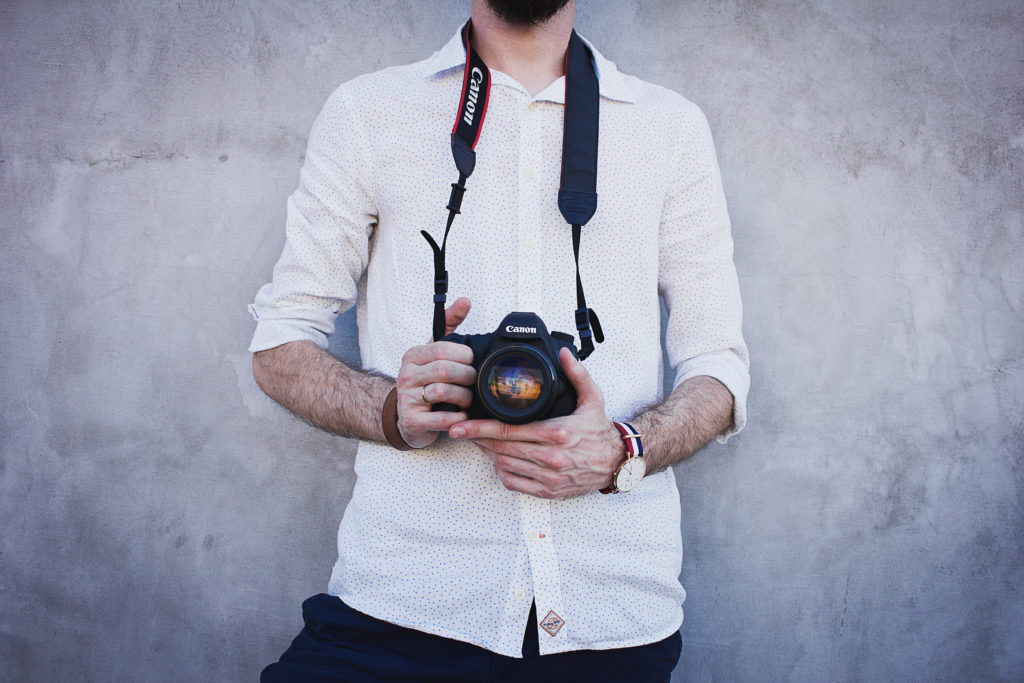
You can find a solid and stable object like a wall or tree and lean against it for extra stability. You need to stabilize the upper part of your body to give stability to the camera you are holding.
The above-mentioned tips for holding the camera will help in reducing the camera shakiness and blurry images. It is not a solid theory, though.
Holding the camera in above-mentioned ways might be a little uncomfortable at first but you will like it and find it normal after taking sharp and better pictures.
Lastly, one more tip, though this is not about ensuring the stability of the camera. It is more of a safety tip. Using the camera’s neck strap is recommended for the safety of your camera.
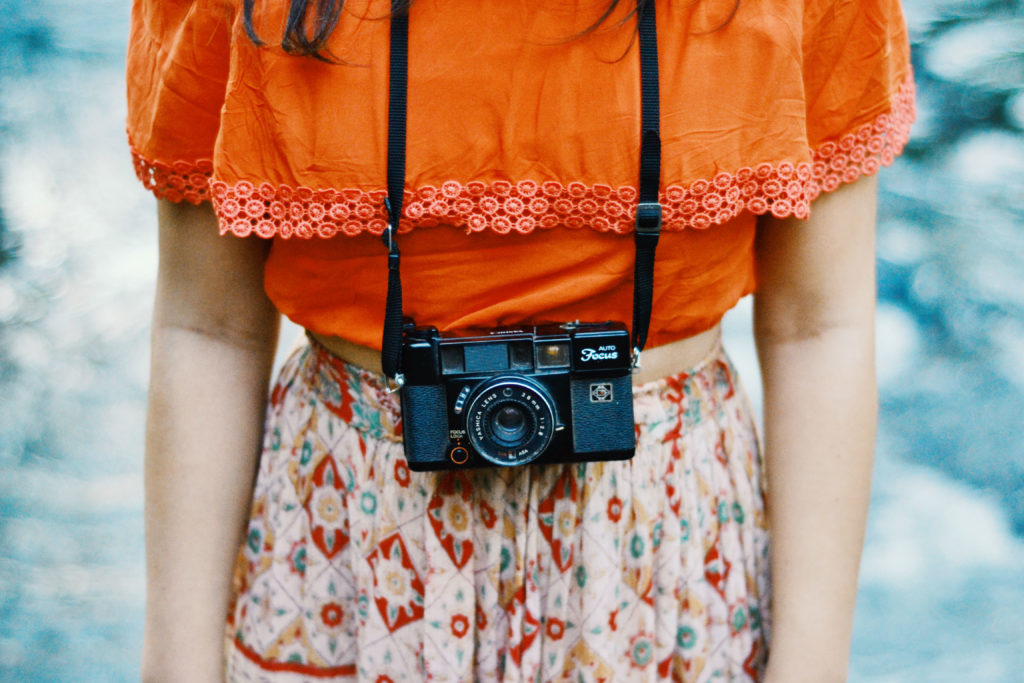
Check 9 Basic Photography Tips for Beginners To Take PRO Shots
Did you find the above tips useful? Let me know your thoughts.
Pin it for later!
Have a good day!

